3.2 Adding people
You must add a person to the MyID database before you can issue credentials to that person. You can add a person manually, import the person from your directory, or import the person using the Lifecycle API.
Note: If you are using an LDAP directory as the primary source of your data, you may use the Edit Person workflow to find a person and make their details available to MyID. The Add Person workflow may not be available. See the Using an LDAP directory section in the Administration Guide for details.
3.2.1 Adding a person manually
The Add Person workflow allows you to add a person to the MyID database without having to import that person from an LDAP directory. Depending on how your system is set up, you may not be able to add a user manually.
To add a person:
-
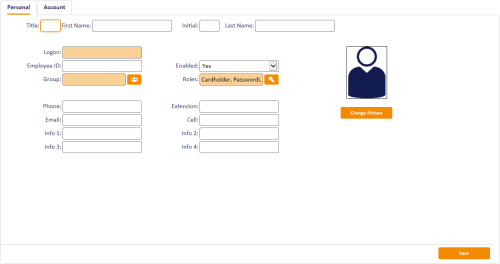
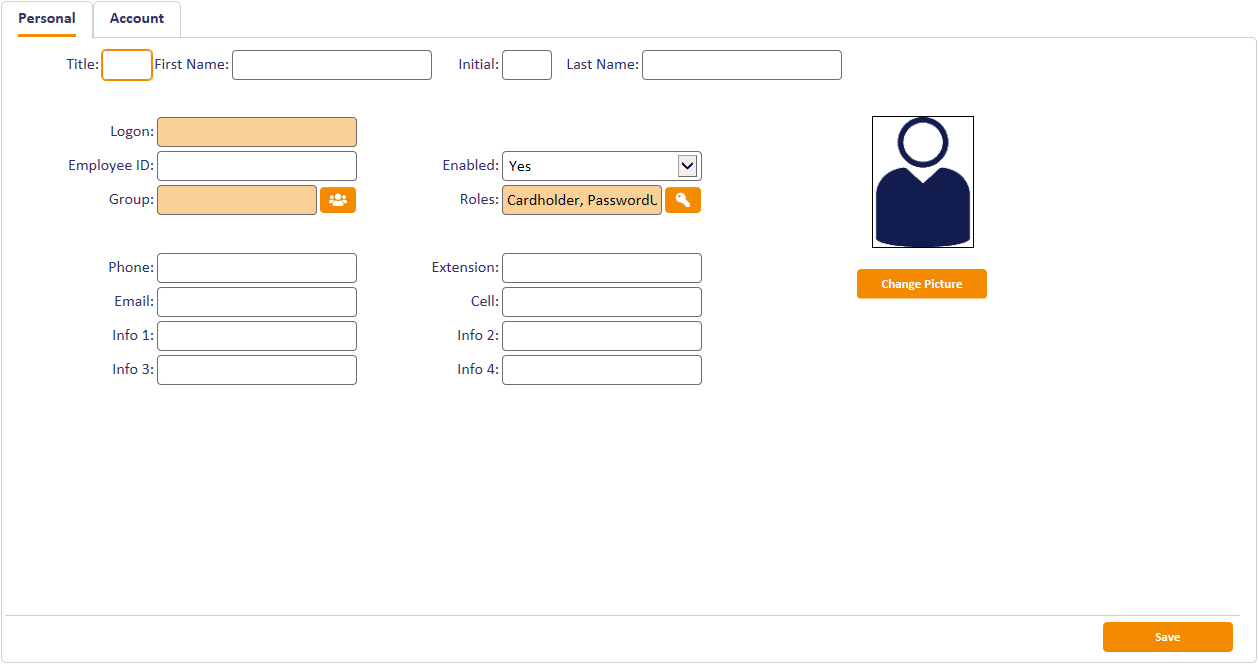
From the People category, click Add Person.
-
Type the First Name and Last Name of the person you want to add.
You must provide either a first name or a last name.
- Type a unique Logon name for the user. The user can use this to log on to MyID without using a card if your system is set up to allow logon using security phrases only.
-
Click the Group button, then select the group to which you want to add the person.
-
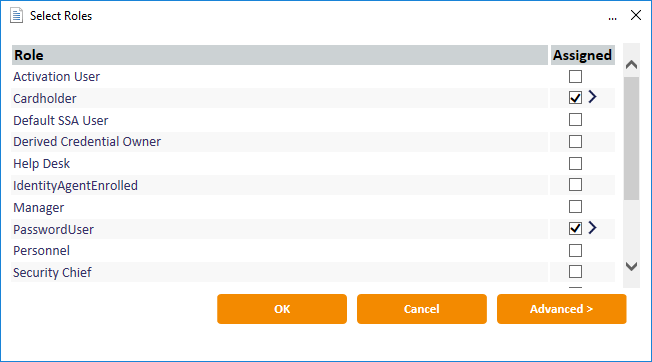
Click the Roles button.
The Select Roles dialog appears.

-
Select the roles you want to assign to the person. You can assign more than one role.
Note: The group the person is in, together the role of the operator, determines which roles are available. See the Roles, groups, and scope section of the Administration Guide for details.
-
Click the Advanced button. This allows you to set the scope for each of the person's roles.
Note: You cannot set a scope higher than your own level.
- Click OK to save the changes to the roles and their scope.
-
- You can change the person's picture: see section 7.3, Obtaining images.
-
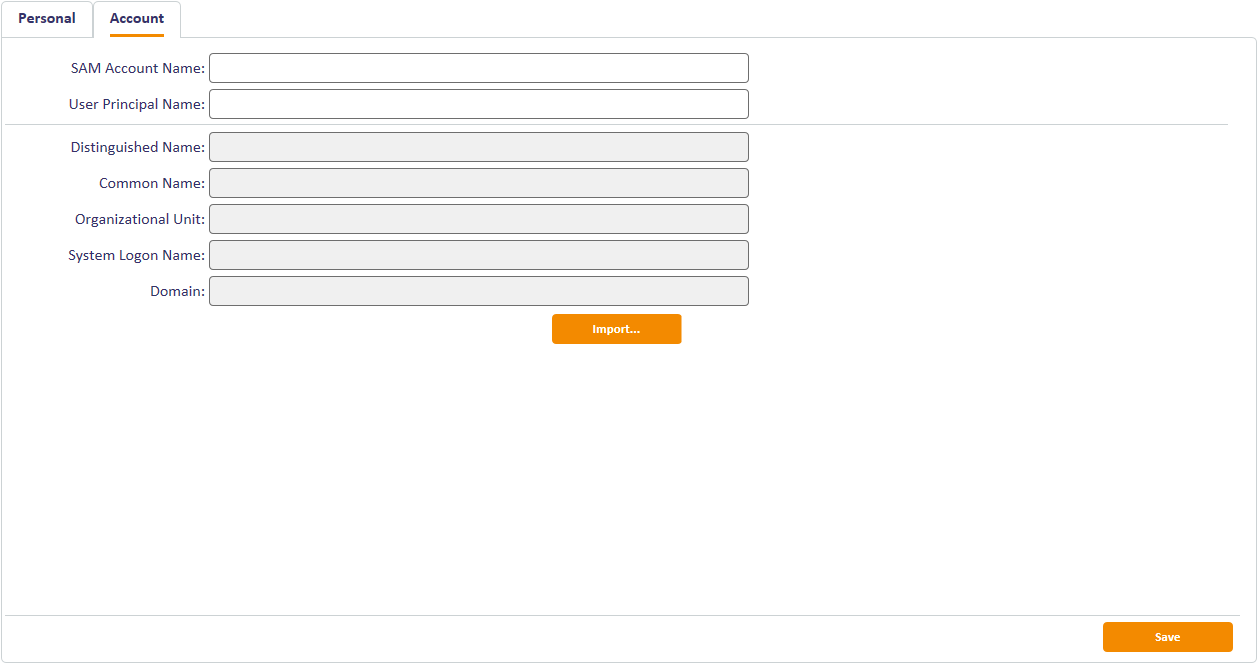
Use the Account tab to associate an LDAP account with the person. See section 3.2.2, Assigning an LDAP account to a person below for details.
-
Click Save.
Depending on how your system is set up, the Witness stage may appear. See the Witnessing a transaction section of the Administration Guide for details.
3.2.2 Assigning an LDAP account to a person
Within the Add Person workflow, you can assign an LDAP account to a person by importing the details from your directory. This overwrites any information about the person that you have entered manually.
To assign an LDAP account to a person:
-
In the Add Person workflow, click the Account tab.

-
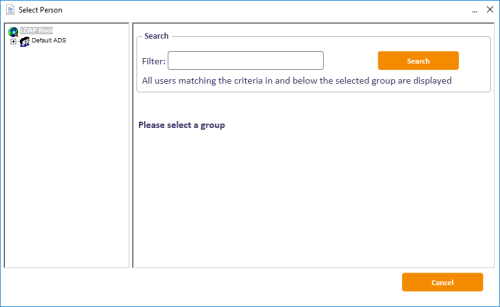
Click the Import button.
The Select Person form is displayed.
-
Select the required branch of the LDAP directory.
-
Type the appropriate characters in the Filter field followed by an asterisk (*).
For example, to find only people with first names starting with Jo, type Jo* in the Filter field.
- Click Search.
- Select the appropriate person from the list of people.
-
Click Import.
The person's details are added to the Add Person form, overwriting any information that was previously entered. You can now amend the details if necessary and save the person's record in the MyID database.